Letter to A4: How to Resize a PDF Correctly Without Cropping or Blurring It
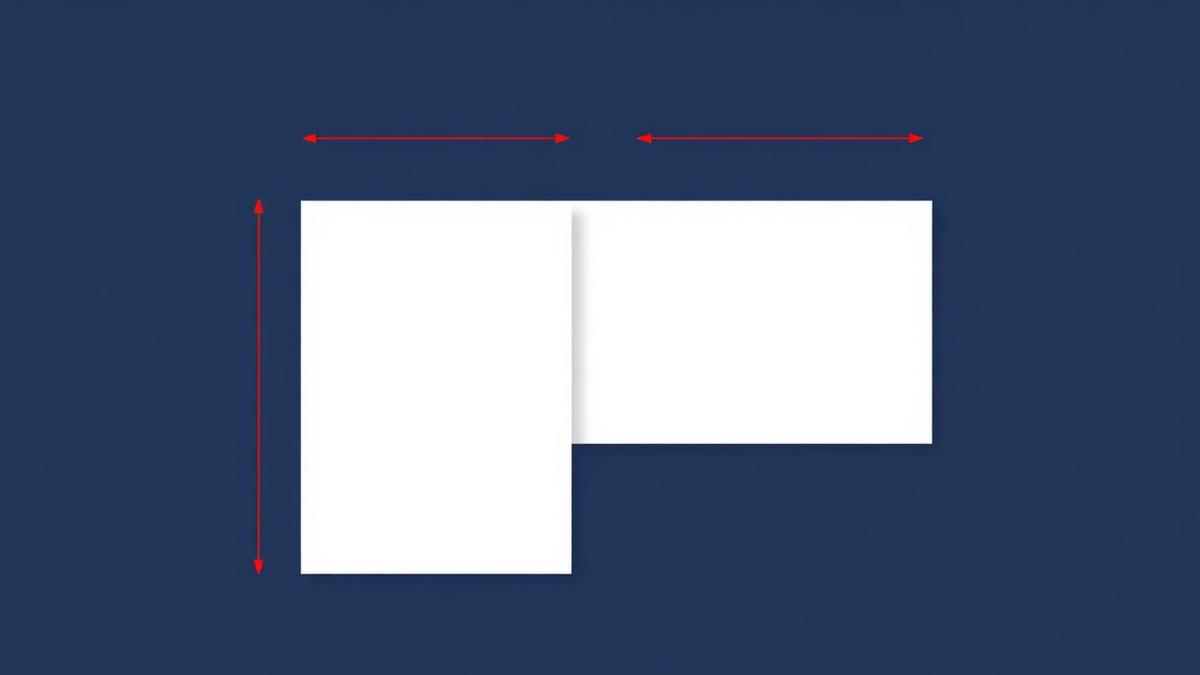
US Letter and A4 are not interchangeable. Here is what actually happens when you resize a PDF, when to use Fit versus Fill, why vector rescaling keeps text sharp, and how to convert Letter to A4 free in your browser.
Quick answer
To convert a PDF from US Letter to A4, open PDFWalle's Letter to A4 tool, upload the file, choose Fit (scale the whole page inside A4) or Fill (scale to cover A4 and trim the overhang), and download the resized PDF. The page content is rescaled as vector artwork, so text stays sharp rather than being re-rendered as a blurry image.
Key takeaways
- US Letter is 8.5 × 11 in (216 × 279 mm). A4 is 210 × 297 mm — narrower and taller. Neither fits the other exactly.
- Fit mode preserves every pixel of content and adds thin margins. It is the right default for contracts and reports.
- Fill mode removes the margins but can shave content near the top and bottom edges. Use it for posters and full-bleed designs.
- Printing "Letter" content on A4 without resizing is the usual cause of cut-off footers, misplaced page numbers and rejected submissions.
Why Two Standards Still Exist
Most of the world uses ISO 216, the A-series, where every size has the same 1:√2 aspect ratio so that folding A3 in half gives exactly A4, and A4 in half gives A5. The United States, Canada and a few other countries use ANSI sizes, of which Letter is by far the most common. Both systems work perfectly well internally; the friction only appears when a document crosses between them.
And documents cross constantly. A university in Germany receives a transcript formatted for Letter. A US company files a document with a European regulator that requires A4. A designer in India sends a proof to a printer in Ohio. Each time, someone has to decide what happens to the 6 mm of extra width and the 18 mm of missing height.
What Goes Wrong When You Ignore It
Print a Letter-sized PDF on an A4 printer with default settings and one of two things happens. Either the driver scales the page to fit, giving you a slightly smaller document with uneven margins and a font size that no longer matches the specification, or it prints at 100% and the right edge is clipped — which is where page numbers, table borders and signature lines tend to live.
The consequences are rarely dramatic but are consistently annoying: a visa application rejected because the form was not A4, a legal filing bounced because the margins were out of tolerance, a thesis returned because the page count changed when the printer reflowed it, or a set of merged documents where half the pages are visibly a different size.
That last case is worth highlighting. If you merge PDFs from different sources, mixed page sizes carry through into the merged file. Normalising everything to one size before merging produces a document that prints and reads as a single coherent object.
Fit or Fill: Choosing the Right Mode
Fit
The whole original page is scaled down until it fits entirely inside the target size, and it is centred with equal margins. Nothing is lost. Because A4 is narrower than Letter, a Letter page scaled to fit A4 gains a little extra white space at the top and bottom.
Use Fit for anything where content near the edge matters: contracts, invoices, academic papers, forms, reports, anything with footers or page numbers. When in doubt, use Fit.
Fill
The page is scaled up until it covers the entire target size, and whatever hangs over the edge is trimmed. There are no margins and no white bands, but content very close to the boundary can be cut.
Use Fill for posters, flyers, photographs, certificates and background-heavy designs where a border of white would look wrong and the outer few millimetres carry no essential information.
Vector Rescaling vs Re-Rendering
There are two fundamentally different ways to change a PDF's page size, and the difference determines whether your document survives intact.
The poor method converts each page to a bitmap image at some resolution, resizes the image, and rebuilds a PDF around it. The text stops being text: it can no longer be selected, searched, copied or read by a screen reader, and it becomes noticeably soft at small sizes. File size often triples.
The correct method keeps the page's content stream intact and applies a transformation matrix, changing the coordinate space rather than the content. Text remains real text, vector graphics remain vectors, and everything stays crisp at any zoom level. PDFWalle's tool takes this second approach, which is why a resized 40-page report is still fully searchable afterwards.
If your source document is a scan, the page content is already an image, and no tool can turn it back into text during a resize. Run it through OCR first if you need selectable text, then resize.
Step by Step
- Open the Letter to A4 tool and upload your PDF. Processing happens in your browser; the file is not sent to a server.
- Pick the target size. A4 is the default, and Letter, Legal, A3 and A5 are available for the reverse conversion or for other formats.
- Choose Fit or Fill based on the guidance above.
- Check the preview — particularly the first page, the last page and any page with a table or a footer.
- Download the resized PDF.
A quick verification habit that saves reprints: open the result, check the document properties for the page dimensions (A4 should read 210 × 297 mm or 595 × 842 points), and print one page before committing to fifty.
Going the Other Way: A4 to Letter
The same tool handles the reverse. Converting A4 to Letter gives you a slightly wider, shorter page, so Fit mode adds narrow bands at the left and right rather than the top and bottom. This is the direction you need when sending a European-formatted document to a US print shop, or when a US recipient reports that your PDF prints with a mysterious blank strip.
Printer Settings Still Matter
Resizing the PDF is only half the job. In the print dialog, set page scaling to "Actual size" or 100% rather than "Fit to printable area" — otherwise the printer applies a second scale on top of the one you just applied, shrinking the document by another few percent. Also confirm that the paper tray is loaded with the size you converted to. A correctly resized A4 file printed on Letter stock ends up right back where you started.
Fitting This Into a Larger Workflow
Page size normalisation usually sits in the middle of a chain rather than at the end. A common sequence: convert the source with Word to PDF, normalise every file to A4, merge them into one document, then compress before submission. If the recipient wants a printer-friendly copy, converting it to grayscale at the same time cuts printing cost substantially.
Do the size conversion once, early, and every downstream step behaves. Leave it to the printer, and you find out at the worst moment that the footer is missing.
Page Size, Margins and Why Documents Look Different After Conversion
A question that comes up constantly after a Letter to A4 conversion is why the document "looks different" even though nothing was cropped. The answer is that page size and layout are related but separate things. When a Letter page is scaled to fit inside A4, everything on it shrinks by roughly two percent. Body text set at 12 point effectively renders at about 11.75 point, and the printed margins grow slightly. Nothing is lost, but a document that was designed against a strict specification — a thesis with mandated 25 mm margins, a legal filing with a required font size — is now technically out of tolerance even though it looks fine to the eye.
If you are working to a specification, the right fix is upstream rather than downstream. Set the page size to A4 in the authoring application before exporting, so the layout engine reflows the text to the correct measure instead of scaling a finished page. Word, Google Docs, Pages and LaTeX all let you set A4 as the document size, and LaTeX users specifically need the a4paper class option rather than relying on the printer.
Resizing an existing PDF is the right tool when you did not create the document, cannot get the source file, or need to normalise a stack of files that came from a dozen different people. That is the majority of real cases. Just be aware of what the conversion is doing: it is a faithful geometric transformation of a finished page, not a re-layout. For a contract, a scanned form or a report you are forwarding, that is exactly what you want. For a document that will be graded against a formatting rubric, go back to the source and change the page size there.
Frequently Asked Questions
What is the difference between Letter and A4?
US Letter measures 8.5 × 11 inches (216 × 279 mm). A4 measures 210 × 297 mm. A4 is about 6 mm narrower and 18 mm taller, so neither size maps onto the other without scaling.
Will converting Letter to A4 reduce the quality of my PDF?
No. The page content is rescaled as vector data rather than re-rendered as an image, so text and graphics stay sharp and remain selectable and searchable.
Should I choose Fit or Fill?
Choose Fit for documents where edge content matters, such as contracts, reports and forms. Choose Fill for posters and designs where a white margin would be undesirable and the outer edge carries no essential content.
Can I convert A4 back to Letter?
Yes. The same tool converts in both directions and also supports Legal, A3 and A5 as target sizes.
Is my file uploaded to a server?
No. The resize runs entirely in your browser, so the PDF never leaves your device.
Why is my PDF still printing incorrectly after resizing?
Check the print dialog. If page scaling is set to "Fit to printable area" the printer applies a second scale. Set it to "Actual size" and confirm the paper tray matches the target size.